Setting up a Spring Boot Application with PostgreSQL Database
In this post, I will walk you through how a Spring Boot application works and integrating it with a PostgreSQL database. This is for developers who are new to Spring Boot and want to understand the basic concepts of building a web application with database connectivity.
Prerequisites
I expect you to have a basic understanding of Java, OOPs and also Docker.
What is Spring Boot?
Eariler, I used to think of Spring Boot as some unnecesarily complex framework that is only useful to build enterprise-grade applications. But after learning about it and using it over the past week, I realized that it is a pretty powerful and fun framework that simplifies the process of building web applications, or just ‘backends’, by providing a lot of built-in features and conventional configurations that eases the development process.
How to start?
Working with Spring Boot, and Java in general is made easy by using a powerful IDE like IntelliJ IDEA which I’ve been using since I started building Java programs. It handles the JDK, provides fine-grained code completion, and helps in generating a lot of common boilerplate code. You can also use other IDEs or editors, just make sure you have the JDK installed on your system.
To start a new Spring Boot project, you can use the Spring Initializr which generates the basic project structure for you (This is inbuilt in IntelliJ). You can select the dependencies you need, such as Spring Web, Spring Data JPA, and PostgreSQL Driver, and it will generate a ZIP file, or the whole project in case of IntelliJ. Make sure to select Maven as the build tool, as it is widely used in the Java ecosystem.
Project Structure
The basic project structure of a Spring Boot application looks like this:
src
├── main
│   ├── java
│   │   └── com.example.demo
│   │        ├── DemoApplication.Java
│   │        └── UserRepository.java
│   └── resources
│       ├── application.properties
├── test
│   └── java
│       └── com.example.demo
│            └── DemoApplicationTests.java
└── pom.xml- The
src/main/javadirectory contains the Java source code of the application. - The
src/main/resourcesdirectory contains the configuration files and other resources. - The
pom.xmlfile is the Maven configuration file that defines the dependencies and build settings for the project.
Main Concepts of Spring Boot
1. Dependency Injection
Dependency Injection (DI) is a design pattern that allows you to inject dependencies, or objects into a class rather than creating them inside the class. This promotes loose coupling by enabling the use of Interfaces. In Spring Boot, DI is achieved using annotations like @Autowired, @Component, @Service and @Repository. A great video to understand this pattern is this by CodeAesthetic
@Service
public class SoftwareEngineerService {
    private final SoftwareEngineerRepository softwareEngineerRepository;

    public SoftwareEngineerService(SoftwareEngineerRepository softwareEngineerRepository) {
        this.softwareEngineerRepository = softwareEngineerRepository;
    }

    // Other methods
Here, the SoftwareEngineerService class has a dependency on the SoftwareEngineerRepository class. Instead of creating an instance of SoftwareEngineerRepository inside the SoftwareEngineerService class, it gets injected automatically by the Spring container.
2. Annotations
Annotations like @RestController, @GetMapping, and @PostMapping are used to define the behavior of their respective classes or methods. They act similarly to decorators in other programming languages, providing metadata about the class or method. For example, @RestController indicates that the class is a RESTful controller, and @GetMapping indicates that the method handles GET requests. Annotations are a powerful feature of Java in general.
@GetMapping("/")
public List<SoftwareEngineer> getSoftwareEngineers() {
    return softwareEngineerService.getAllSoftwareEngineers();
}
Now, since we have a basic understanding of Spring Boot, let’s move on to integrating it with a PostgreSQL database.
Integrating Spring Boot with PostgreSQL
To integrate Spring Boot with PostgreSQL, start by adding the PostgreSQL dependency to your pom.xml file. This will allow Spring Boot to connect to the PostgreSQL database.
<dependency>
    <groupId>org.postgresql</groupId>
    <artifactId>postgresql</artifactId>
    <scope>runtime</scope>
</dependency>
Setting up the Database
I setup the PostgreSQL database using Docker, since this simulates a production environment better. You can pull the official PostgreSQL image from Docker Hub, and write a docker-compose.yml file to run the database container. Here is an example of how the file looks like, and a guide to customise it for your needs:
services:
  db:
    container_name: postgres-db
    image: postgres
    restart: always
    volumes:
      - ./exercises:/data
    environment:
      POSTGRES_USER: user
      POSTGRES_DB: workout-tracker-db
      POSTGRES_PASSWORD: pass
    ports:
      - '5432:5432'
Configuring the Application
Next, you need to configure the application to connect to the PostgreSQL database. This is done in the application.properties file located in the src/main/resources directory. Here is an example configuration:
spring.datasource.url=jdbc:postgresql://localhost:5432/workout-tracker-db
spring.datasource.username=user
spring.datasource.password=pass
spring.datasource.driver-class-name=org.postgresql.Driver
This configuration specifies the URL of the PostgreSQL database, the username and password to connect to it, and the driver class name.
Connecting to the Database
Now, this is one of the first things that made me love and understand the popularity of Spring Boot. You can simply create a repository interface that extends JpaRepository, specify the Data type and the ID type, and Spring Boot will automatically create the corresponding table in the database and implement the basic CRUD operations for you, which can be used in your service classes. Here is an example of a repository interface for a SoftwareEngineer data type.
public interface EngineerRepository extends JpaRepository<Engineer, Long> {
}
This lets you use methods like findAll(), findById(), save(), and delete() without having to write any SQL queries or boilerplate code. This is a huge time-saver, makes the code cleaner and helps you focus on the business logic rather than the database operations.
public class SoftwareEngineerService {
    private final EngineerRepository engineerRepository;

    public SoftwareEngineer getEngineerById(Integer id) {
        return this.engineerRepository.findById(id)
            .orElseThrow(() -> new Exception("Engineer not found with id: " + id));
    }
}
The EngineerRepository object is automatically injected into the service class, and you can use it to perform database operations.
Pre-Loading Data
There are supposedly many ways to pre-load data into a connected database, but the method I found the most convenient, specially for large datasets, is to use a Command Line Runner. Objects of this type are automatically run by Spring after the application has started, and you can use it to insert data into the database by reading it from some static files like csv or json using Jackson. Here is an example of how to use it:
public class ExerciseDataLoader implements CommandLineRunner {

    private final ExerciseRepository repository;
    private final ObjectMapper objectMapper;

    public ExerciseDataLoader(ExerciseRepository repository, ObjectMapper objectMapper) {
        this.repository = repository;
        this.objectMapper = objectMapper;
    }

    @Override
    public void run(String... args) throws Exception {
        InputStream inputStream = getClass().getResourceAsStream("/exercises.json");

        TypeReference<List<ExerciseDTO>> typeRef = new TypeReference<>() {};
        List<ExerciseDTO> dtoList = objectMapper.readValue(inputStream, typeRef);

        List<Exercise> exercises = dtoList.stream().map(dto -> {
            Exercise e = new Exercise();
            e.setId(dto.id);
            e.setName(dto.name);
            return e;
        }).toList();

        repository.saveAll(exercises);
    }
}
The ObjectMapper is used to read the JSON file and convert it into a list of usable Java objects (ExerciseDTO). The ExerciseRepository is then used to save the data into the database, optionally processing it by using the Java Stream API. This is a great way to pre-load data into the database without having to write any SQL queries.
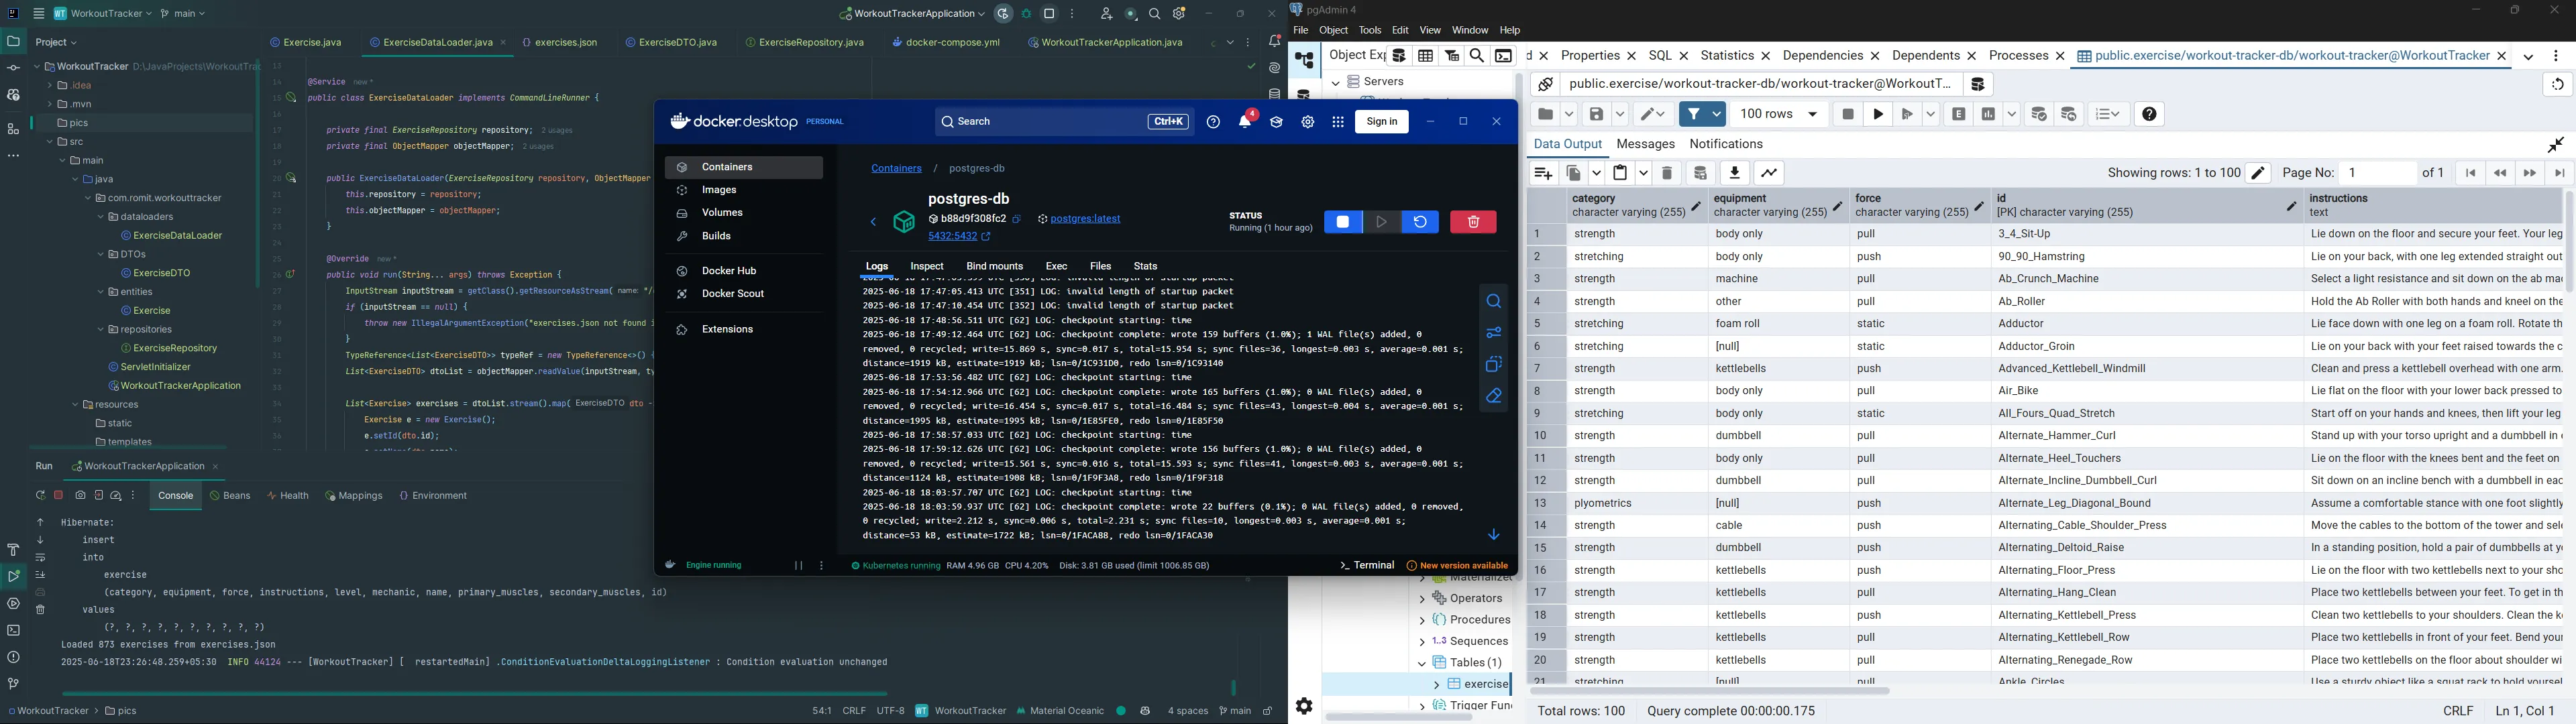
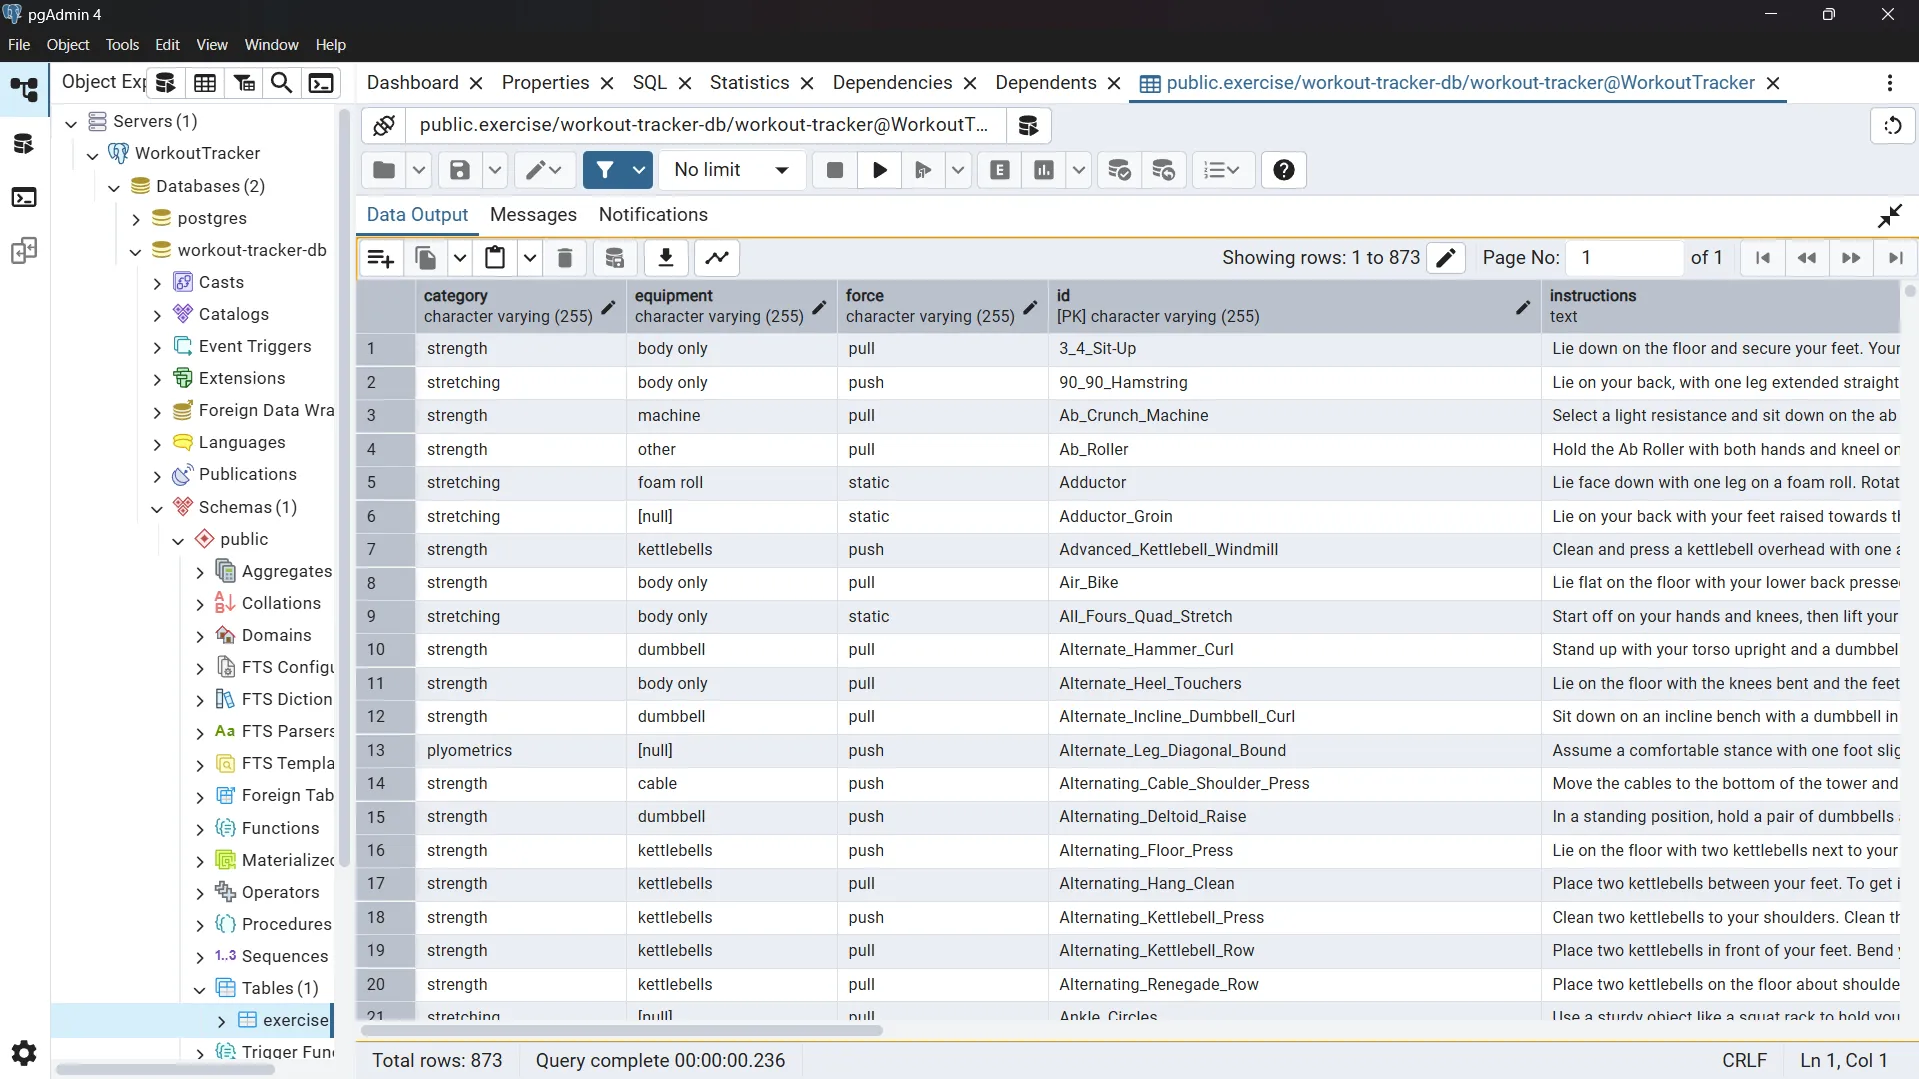
Seeing the Database in Action
To see the database in action, you can use a tool like pgAdmin, or the Database Tool integrated in IntelliJ itself, to connect to the PostgreSQL database inside the docker container and view the data. You can also use the psql command-line tool to run SQL queries directly on the database by accessing the container’s shell using docker exec -it postgres-db bash.
Conclusion
Until now, I have only scratched the surface of Spring Boot and its capabilities. There are many more features and concepts to learn, such as Spring Security, but being able to set up a basic Spring Boot application with PostgreSQL database integration is a pretty fun and exciting start.